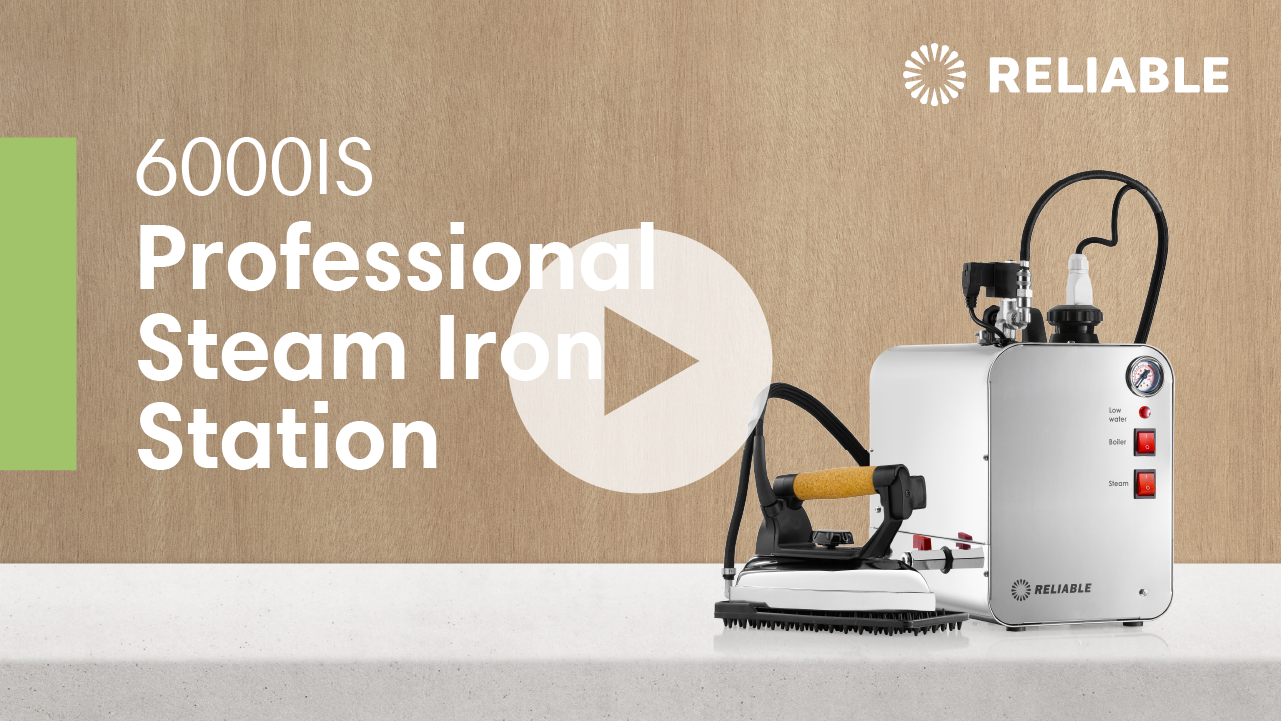
Ironing gets a bad rap sometimes. It may conjure images of being hunched over an ironing board, moving a hefty iron over a shirt. Even if we didn’t grow up in the era when dutifully pressing everything from shirts to bed sheets was commonplace, sometimes associations are hard to shake.
Yet in the 21st century you can rest assured that the experience of ironing a shirt is as different today as using a smart phone versus a rotary dial telephone. For one thing, the tools we have at our disposal make ironing less of a chore and more of, well, a walk in the park.
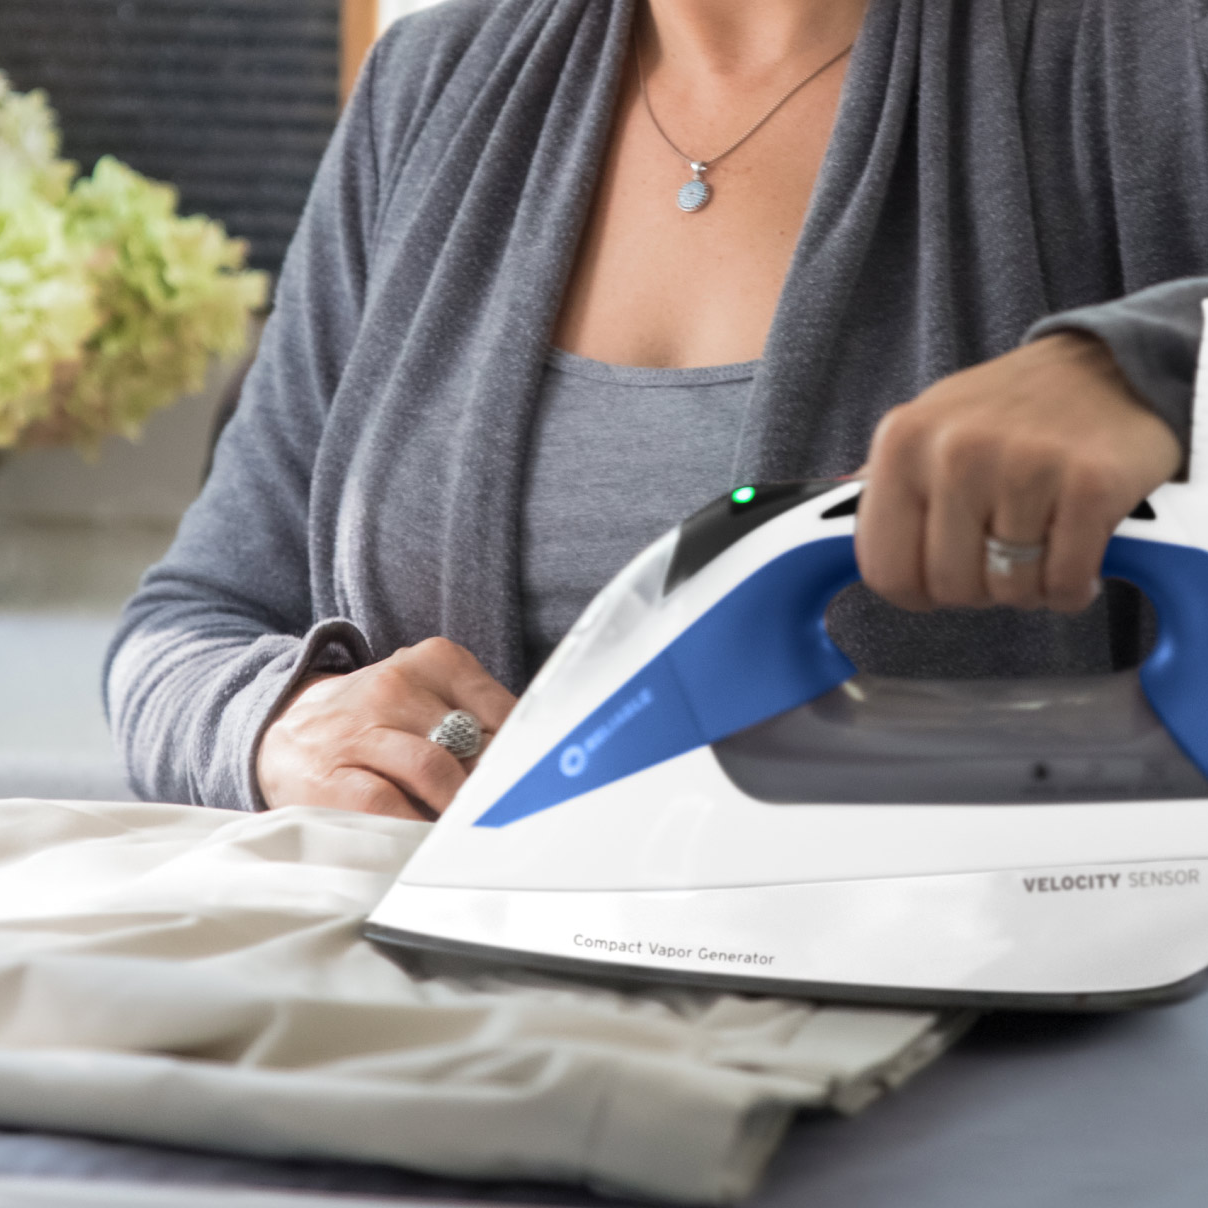
A good quality steam iron takes the guesswork out of ironing. Lightweight and smooth to manoeuver, some modern day irons have the technology to deliver clean, balanced steam to your shirt. Look for an iron that has clearly marked temperature controls, shuts off automatically, and has a steel, ceramic or anodized soleplate. Today, having the best tools make it easy and even a joy to iron a shirt.
Isaac Ely of Toronto’s eponymous bespoke tailoring house to athletes and executives believes we should always start out the day wrinkle-free.
“The shirt will lose some of its crispness as the day goes on, yet the important thing is to begin with a nicely pressed shirt.”
With that in mind knowing how to iron a shirt—in order to impress—is no small thing. The following are 10 tried and true steps to ironing a 100% cotton or cotton blend dress shirt:
- Read the label. Make sure you know what kind of fabric your shirt is made of before you iron it so you can adjust your iron’s temperature setting accordingly.
- Ensure the iron has water in it and situate your ironing board near the closest outlet.
- Next you will iron the shirt collar. “Always remove the collar stays as they’ll leave a mark from ironing,” says Ely. First iron the underside from one point of the collar to the other. Repeat the process on the outside of the collar.
- To iron the cuffs unbutton the cuff first. “Iron inside and outside the cuff for a crisp, finished look,” says Ely, custom bespoke tailor.
- Start with the side of your shirt that has buttons and carefully work the iron around the buttons. Pay special attention to the placket of the shirt (the double layers of fabric where the buttons are), as this area is most visible, especially when wearing a jacket.
- Now move the iron to the shoulder of the shirt and then iron down that shirt’s side. Move to the other side and follow the same procedure.
- Place your shirtfront on the ironing board so the back of the shirt is visible and the front and sleeves hang down on either side. If the shirt takes up more space than your board allows, then move the shirt over so half of it is on the board. Begin with the yoke (top fabric between shoulder blades) and work your way down that side first. Then shift the shirt and do the opposite side.
- Next, lay one sleeve on the ironing board. Make sure the fabric is smooth and flat before applying the iron. That includes the top and the bottom of the shirtsleeve. Some ironing boards have sleeve attachments that allow you to easily press inseams and sleeves. If your ironing board doesn’t have this feature then you can insert a rolled up towel. The best ironing boards have a sturdy frame and a well-padded cover.
- Hang up your shirt and inspect your handiwork.
- Enjoy a confident start to the day.
Marie Kondo, best-selling author of The Life-Changing Magic of Tidying Up understands the allure of a quality garment that’s pressed with pride.
“If you are confident that something brings you joy, keep it, regardless of what anyone else might say,” she says. “Even if it isn’t perfect, no matter how mundane it might be, when you use it with care and respect, you transform it into something priceless.”


